The purchase of a car will be one of the most important purchases that we ever make in our lifetime.
We will only buy a few in our lives, so it’s not surprising that many of us would like to make a few alterations to our purchases to give them a more personal touch.
This is especially true given the amount of money that we invest in the items that we buy.
Modifications done to a vehicle for the aim of improving its appearance are, for the most part, risk-free and do not present any challenges when it comes to the vehicle’s operation and safety.
However, if certain parts (like the engine/wheel mechanics etc.) are modified and the parts are replaced, there is a chance that you could be putting yourself in danger.

In most countries, all vehicles are required to meet a specific level of safety requirements, and there are laws in place to ensure that neither the design rules nor the vehicle safety standards are violated.
In addition, there are laws in place to ensure that a particular level of safety requirements is met.
The laws will vary from country to country, and in the USA often will change depending on your state.
Typically the rules will guide you on a variety of issues, including but not limited to pollution, anti-theft measures, and vehicle safety.
These regulations apply to all automobiles, regardless of whether they are freshly manufactured, previously owned, or imported.
In this article, we will cover quick-release steering wheels and how to install them.
Do I Need A Short Hub?
Yes, you do need a short hub to effectively install a quick-release steering wheel. Learn how to do this yourself below.
How To Install A Quick Release Wheel
Tools
- A small, flat-headed screwdriver
- A small hook pick
- A 3mm Allen wrench
- 3/8” drive ratchet
- 3/8” drive 22mm deep socket
- 3/8” drive 6” extension
Prep The Car
There is a checklist of things you must do to your vehicle to guarantee a successful installation.
The car must be parked in a secure place with the brakes engaged.
Additionally, the wheels must be straightened. Otherwise, you risk having them misaligned with the steering wheel, which is dangerous.
The horn must be removed from the steering wheel as well. Depending on the vehicle, you may use your hands or a small screwdriver to remove the horn from its plastic ring.
If you must pry, avoid causing significant damage to the wheel.
You should now be seeing many cables. Take a photograph of them. While reinstalling, it is essential to have a reference image, even if you are confident and feel you know where everything goes.
Afterward, disconnect everything and remove the horn.
Remove Steering Wheel
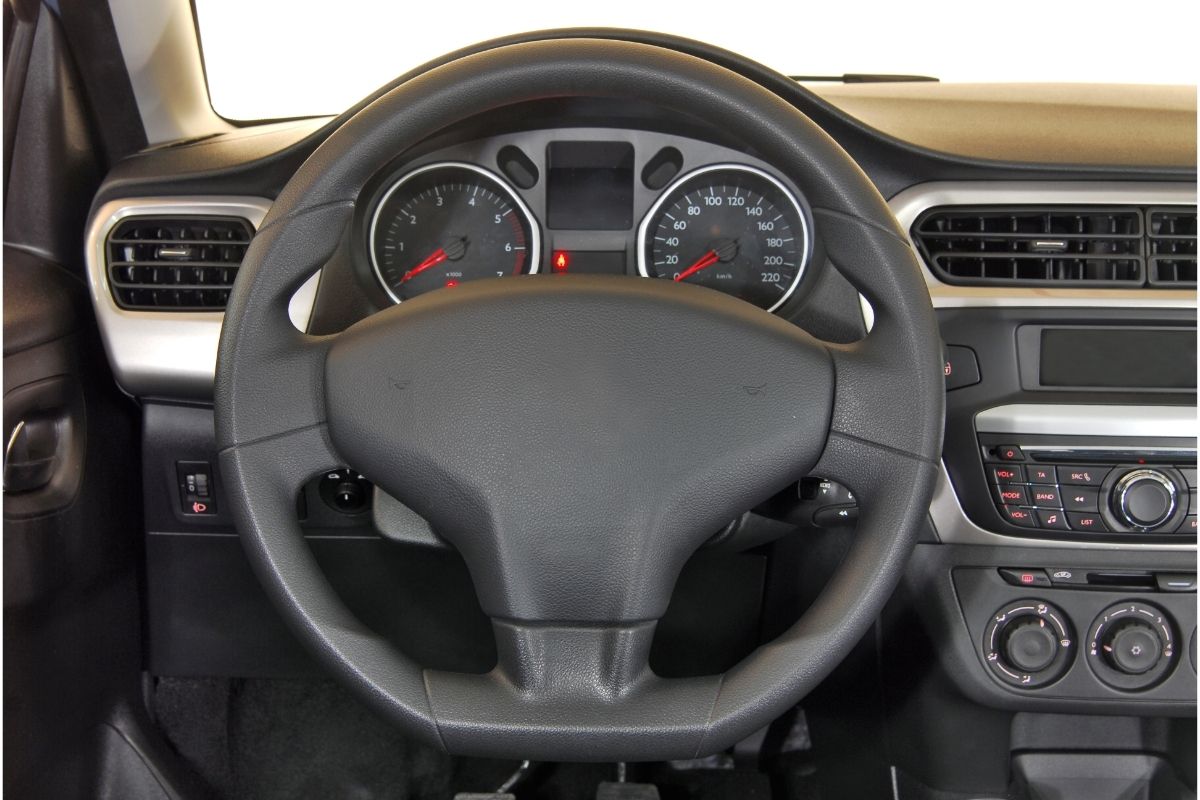
While still attached, the steering wheel cannot be adjusted significantly. By removing the wheel, you may have access to the mechanism used to install the quick-release system.
Most steering wheel assemblies may be taken apart by unscrewing the center nut. If you do not know how to remove your assembly, check the car’s manual.
After removing this nut and the washer and spacer behind it, the steering wheel may be removed by simply pulling it toward you until it pops out.
Repair Short Hub
Use the hook pick here. You should locate a gold ring on the rear of your disconnected steering wheel component.
Get below it and separate it carefully. After removing the ring, you’ll see a black wire connected to it.
The ring will be slid back after the black wire has been run through the NRG short hub. Connect this black wire to both the yellow and existing black wires.
Then, replace the spacer, washer, and first nut onto the steering wheel and tighten them with a ratchet. For effective connection, it may be necessary to tuck wires into the short hub.
Obtain the component of the NRG quick-release kit that corresponds to the short hub. To attach the quick-release to the short hub, Allen-head bolts may be necessary.
Install Quick Release
Install the quick-release mechanism and wheel now. When you do it, it should engage or snap into place audibly or audibly.
The steering wheel must then be reinstalled. Depending on the vehicle you are driving, this may be the easiest or most challenging phase.
If you’re lucky, your wheel will require 1/2-inch, 3-millimeter Allen head bolts, allowing you to easily install it while guaranteeing precise alignment.
The hardware used to secure your steering wheel may no longer be compatible with the new mechanism in your car.
Typically, this is a problem with screws; for them to fit properly, you will need to acquire longer screws or cut long screws shorter.
While repairing the steering wheel, the horn must also be reinstalled. Consult the snapshot you took. This will indicate where the wires should be put and where they should connect.
If successful, the installation of the quick-release mechanism is complete. Those left with incompatible connections must take an extra step for male-to-male connections.
An Extra Step
If there are just male-to-male connections left, these must be modified to finish this installation. Fortunately, it is uncomplicated if you have the optional equipment described above.
Strip both ends of a two-inch segment of wire, then thread it through a female connection and firmly crimp it.
Afterward, wrap each end with heat shrink for protection. Before heating the tube with a lighter to shrink it, you should only need around half an inch of tubing.
Before crimping the wire, ensure that the second tube is in position. You should now own a male-to-male adapter.
Summary
While you do need to have a short hub to install a quick-release wheel, the process of doing this is not that hard. If you would rather though, you can pay a mechanic to do it.