If you have decided to wrap the hood of your car, then it is time for you to learn about the process and get started. It can be a daunting task but if you follow this step-by-step guide, you will be able to do so successfully.
This article will teach you everything that you need to know in order to wrap the hood of a vehicle.
The Right Material
The first thing that you should consider when wrapping the hood of your car is which material you are going to use. You can choose between vinyl or fabric. Vinyl is more durable than fabric and therefore lasts longer.
However, fabric is cheaper and easier to work with. If you want something cheap, then go for fabric. If you want something durable, then go for vinyl.
You also need to decide whether you want to use a single piece or multiple pieces. Wrapping the entire hood of your car is not difficult as long as you have the right materials.
However, if you only have one piece of fabric, then you might find it hard to cover the entire hood. Therefore, you should think about what kind of look you would like before buying any material.
Tools And Materials
Tools needed to clean your car include microfiber towels, a clay bar, some soapy water, an application glove, and a squeegee with a buffering system.
You also need to use a dedicated degreaser and a polishing system. Your workspace should bebetween 60-75 degrees Fahrenheit.
Application Conditions And Storage
After purchasing all the required items, you should take note of the application conditions and storage instructions. Some products require specific temperatures while others don’t.
Also, some products need to be stored in certain places. For example, some will need to be stored away from sunlight as well as heat sources.
Clean The Hood
Cleaning the hood of your vehicle is really important. Cleaning your car hood is the first step to keeping it looking nice and preparing it for seamless application.
Wash off dirt and grime with soapy water and a sponge, and then use an automotive degreaser to help you get rid of any stubborn stains.
Be careful when using the degreaser because it could damage paint if used improperly. After washing the hood, clean the edges and main surface areas once more.
Step-By-Step Guide
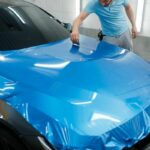
Step One: Open The Vinyl And Remove The Excess
Make sure that any extra material is removed from the hood because it will make installation so much easier for you. Then pop the magnets into the center – this is known as a Temporary Hinch.
Step Two: Flip Over The Vinyl And Release The Liner
What you’re going to want to do next is take off any backing paper. Be certain that the side facing up doesn’t fold back in on itself.
Once the vinyl has been pulled about halfway, you’re going to want to cut the remaining backing paper with scissors. Gently fold the vinyl over afterwards so that it doesn’t fold back over on itself.
After that lightly lay down the vinyl down so that it evens out the wrinkles. Be careful to avoid the vinyl folding in on itself.
Step Three: Remove Magnets
You can now remove the magnets from earlier. You can do this by pushing the material forward, this is done best using the back of a squeegee.
Do this until all the wrinkles are gone. Use firm overlapping strokes when using the squeegee and keep the angle at 45 degrees. Once you are wrinkle-free you can lay the panel down.
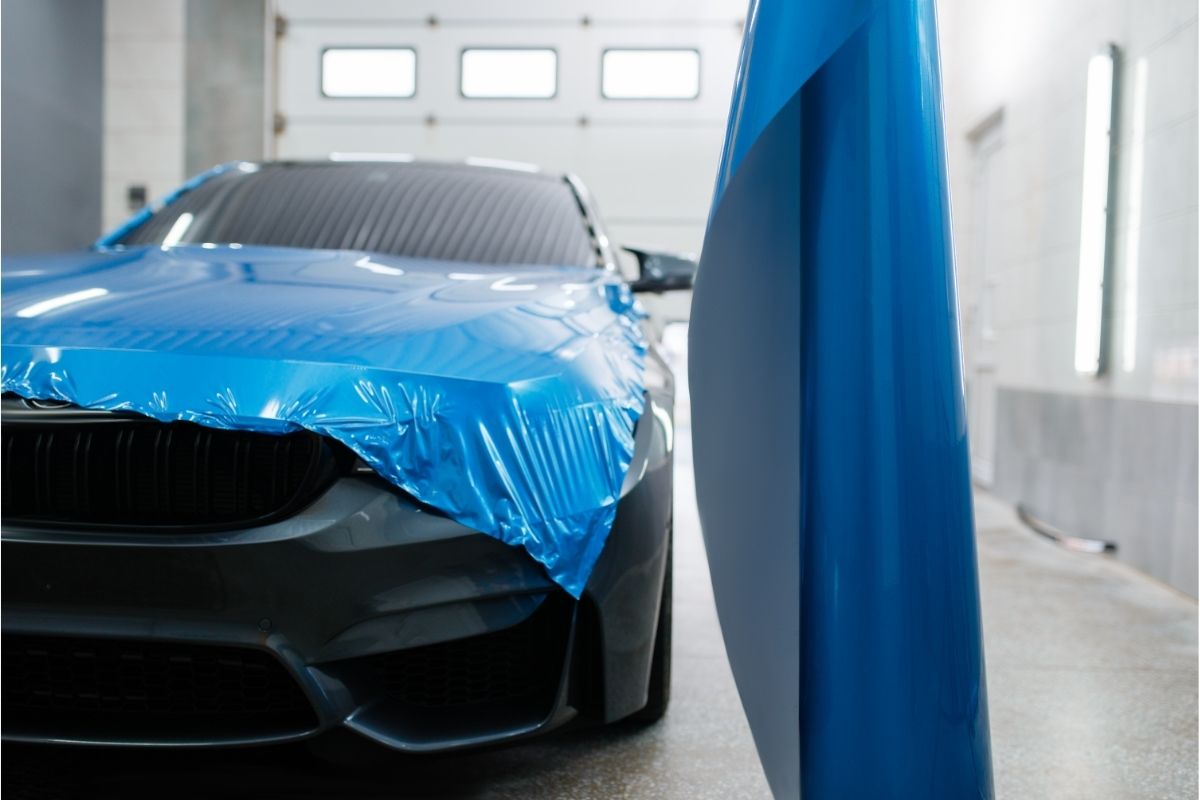
Step Four: Position Vinyl On Hood
Now that we’ve set the body line to the other side of the hood, you should try to keep the liner on as it is flipped over. You can then release the liner. For safety purposes, make sure that the liner isn’t in the way. I’d suggest placing it under the vehicle once you’ve finished.
The next step is pulling towards both corners, one corner at a time, just as you did in the first half so your film will be wrinkle-free. Pull the vinyl nice and evenly towards the front of the hood.
Once you are 100% certain there are no more wrinkles you can start using your squeegee again just as instructed in the previous step.
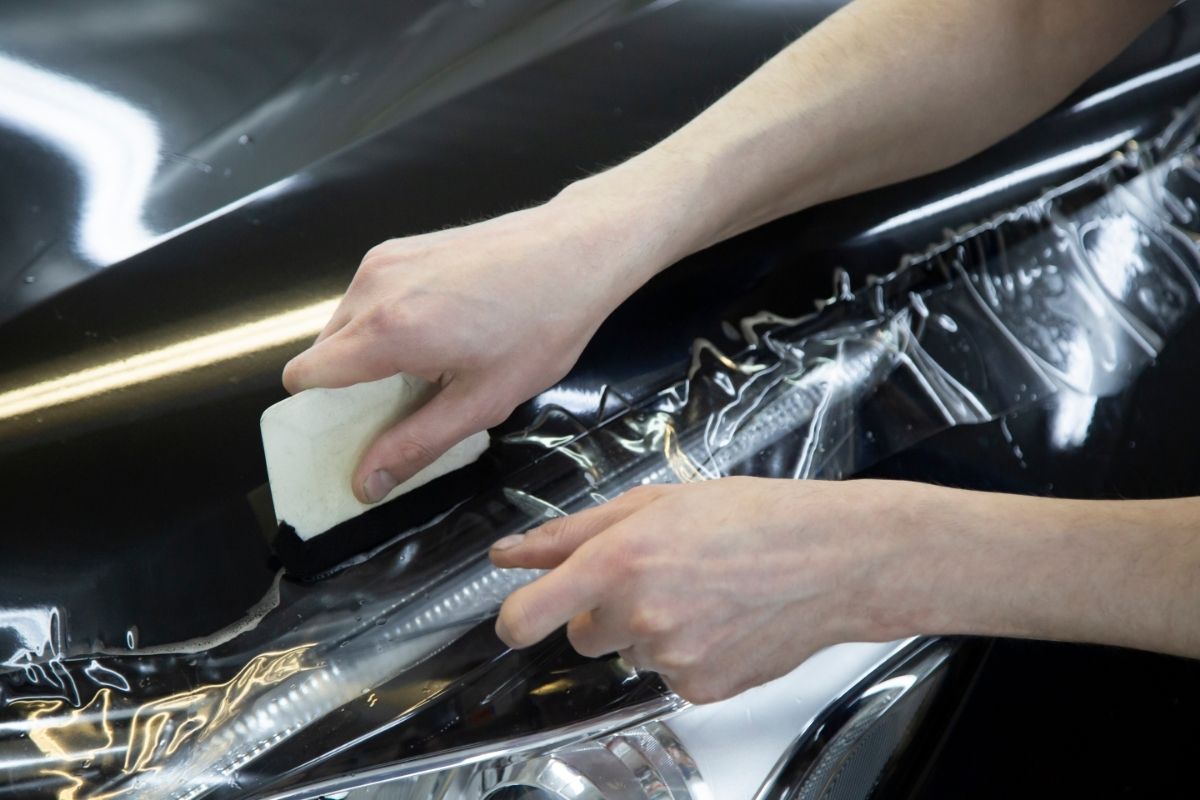
Step Five: Pull Wrap To The Corners
Hold the paint protection film (PPF) in equal tension, so there are no visable wrinkles on the hood. Start by cleaning the corners and edges first. Make sure there is no tension, and then clean the rest of the surface.
Step Six: Remove Cap Sheet
It may seem like there are scratches on the material depending on the vinyl that you’re using. Don’t Panic. If your vinyl comes with a cap sheet, use masking tape to loosen the cap sheet off the vinyl.
You’ll see that the majority of scratches are actually on the cap sheet, they won’t be on the hood material itself.
Step Seven: Soften The Film Using Heat
Now that the materials are in perfect condition, you can begin to cut the material to fit. You should always do the corners first. Then pick up the material from the outer edge and add a little heat.
The material will soften around the corner. If you run a finger across the edge, you’ll round the material. You’re then going to want to cut the corners first, about one inch on both sides.
Step Eight: Cut Film Towards The Corner
After you’ve cut the corner, you can start to cur the flat edge. Cut this towards the corner. When it comes to the materials being cut on the fender side.
Try to make about one-quarter of an inch of extra material so it can be wrapped around the bottom of the hood. This makes sure you’ve got full coverage and hold.
Step Nine: Remove Excess Film
Remove any excess film. Once you’ve done this, add the heat to soften the film, and then squeegee the film under the corner and towards the body lines.
Step Ten: Use Gloved Hand To Round Over Edge
Using an application glove, wrap the corners and edges of the material around the bumper. Make sure to lift the film high and away from the car. Cut off any extra film before wrapping under the hood.
Step Eleven: Cut Material Along Hood Edges
Now that you’ve gotten rid of any excess film you can start to open the hood a little. You can then run your finger around the material at the front. Once you’ve done that make sure to grab the material to stop it from folding in on itself.
Add heat to soften any excess film you may have missed and always make sure you form the corners. It’s best to use an application glove and round the area.
Once you have rounded the film the material can be cut to the hood. When doing body angles by the upper front section, add some more heat and soften the film as this will stop it from wrinkling.
Then again use the application glove or squeegee to form it.
Step Twelve: Heat All Edges
Once you’ve finished the front, then you just need to double-check the edges, go around the edges adding heat to make sure that you’ve fully wrapped it around and sealed them for a long time hold.
And you’re done!
Final Thoughts
If you want to really ensure that you have perfectly wrapped the hood of your car there are a few extra steps you can take to ensure that flawless finish.
- Go over the whole hood with heat once more just to check for any bubbles and to fix any scratches caused by the squeegee.
- Spray your hood with Rapid Clear to increase your hood’s shine and protect it from any dirt.
And voilà; your car’s hood should be looking fresh and fine — Prepare to turn some serious heads!