Vinyl wraps can be a great way to customize your car, making it uniquely your own and covering it with images or patterns that reflect you as a person.

They can either cover your car entirely, or just parts of it, but either way, they’ll leave your vehicle as a driving representation of you.
However, what happens when you want to change the wrap? How do you go about removing it?
Well, we’ve got the answers for you! Below you’ll find a guide to car wraps and the best way to remove them. You’ll be an expert in no time – and ready to put a new wrap on!
What Is A Car Wrap?
Also known as a “paint wrap” or “color change wrap”, a car wrap is a way to customize the look of your car without getting rid of its paint job. Like a sticker, it simply goes over the paint!
You can choose from a massive range of designs and patterns, as well as colors, to make it completely your own. Additionally, you can have a matte or gloss finish.
How Long Do Car Wraps Usually Last?
But how long does a vehicle wrap tend to last? This is a common question that gets asked often.
There are many factors that determine how long a car wrap will last, including the type of material used and the quality of workmanship that went into putting it on in the first place.
There are two types of vinyl wraps: clear vinyl and black vinyl. Clear vinyl can be removed with ease while removing black vinyl may take some time.
The most durable materials for wrapping vehicles are high-quality graphics.
These graphics have been designed by graphic designers who understand the best way to use color, texture, and design to make your message sticks out from other cars in traffic.
Their visuals are the reason you probably chose to have a wrap in the first place!
The second factor that affects how long the car wrap will likely last is the skill level of the installer.
If you hire an inexperienced person or one who doesn’t know what they’re doing, you could end up with a cheap looking wrap that won’t last very long at all.
On the other hand, if you hire a professional to apply it, the wrap should stay on your car much longer. However, if you then want to remove it at a later date, it will be more difficult to do so – it’s a blessing and a curse!
Before You Get Started, Things To Avoid When Removing
Before you start removing your vinyl car wrap, there are a few things you need to keep in mind and be careful about! They are:
Don’t start ripping off your car wrap before it’s completely dry. It’s important to wait until the adhesive dries completely so that there isn’t any residue left behind when you try to peel it off.
If you’re using a spray adhesive, wait about 24 hours after spraying before trying to remove the wrap. Wait even longer if you’ve applied multiple coats of spray adhesive.
If you’re applying a tape adhesive, wait 48 hours after application before attempting removal.
When peeling off vinyl car wraps, don’t pull too hard. If you pull too quickly, you’ll tear the vinyl and leave behind residue. Instead, gently tug at the edges of the wrap. Slow and steady always wins the race!
When peeling off vinyl car covers, remember that the adhesive is stronger than the vinyl itself. Therefore, you should always peel off the vinyl first before pulling away the adhesive.
Using a razor blade to carefully cut around the edge of the vinyl car wrap will really help you, allowing you to then slowly peel it off. Make sure to cut along the lines as close to the edges as possible.
How To Remove Car Wrap

Tools And Materials
- Razor Blade
- Propane Torch or Heat Gun
- Remover
- Rags
- Water
Step 1: Heat
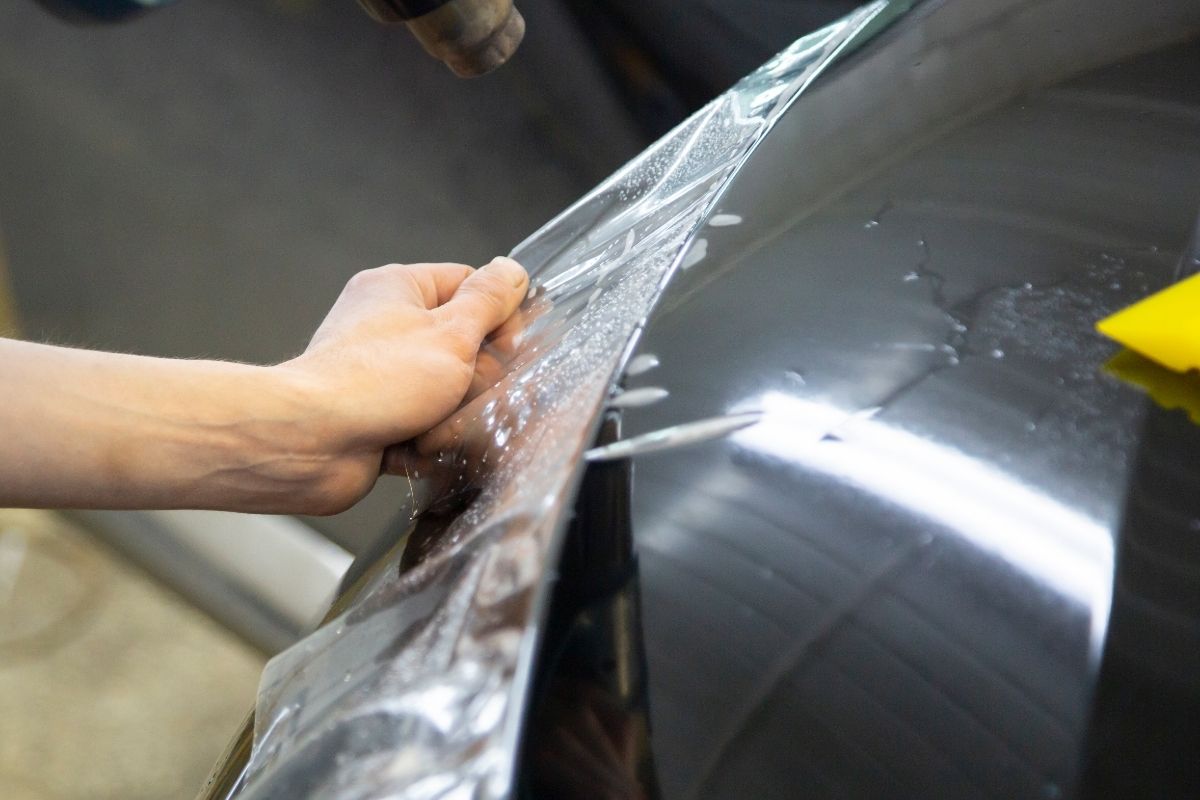
Heat helps to loosen the adhesion between the vinyl and the surface. It’s a very handy tool! You can either heat the entire vehicle with a propane torch or heat gun but find a way to apply heat to the area where the wrap is located.
If you’re doing the second of those two, then use something like a heat gun, because much less force is needed.
Now, before you do either, you must make sure that you act safely. Especially with a propane torch, you’ll be using dangerous equipment.
Have somebody standing by to step in if something goes wrong. Or, if you’re not feeling confident in using the tools, hire a professional to do it. Safety is the most important thing when removing a car wrap!
Step 2: Start With A Corner
Now you’ve used heat to loosen the adhesion, you can start peeling! Remember to always be careful and slow when doing so.
To begin, start with the corner of the wrap because this is usually the easiest part to remove.
For additional help, you can use a razer blade to carefully cut around the lines of the vinyl, making it even easier for you to pull away each section. Be careful though!
Always be sensible when using a knife. Also, make sure not to scratch the body of your car beneath or ruin the paint.
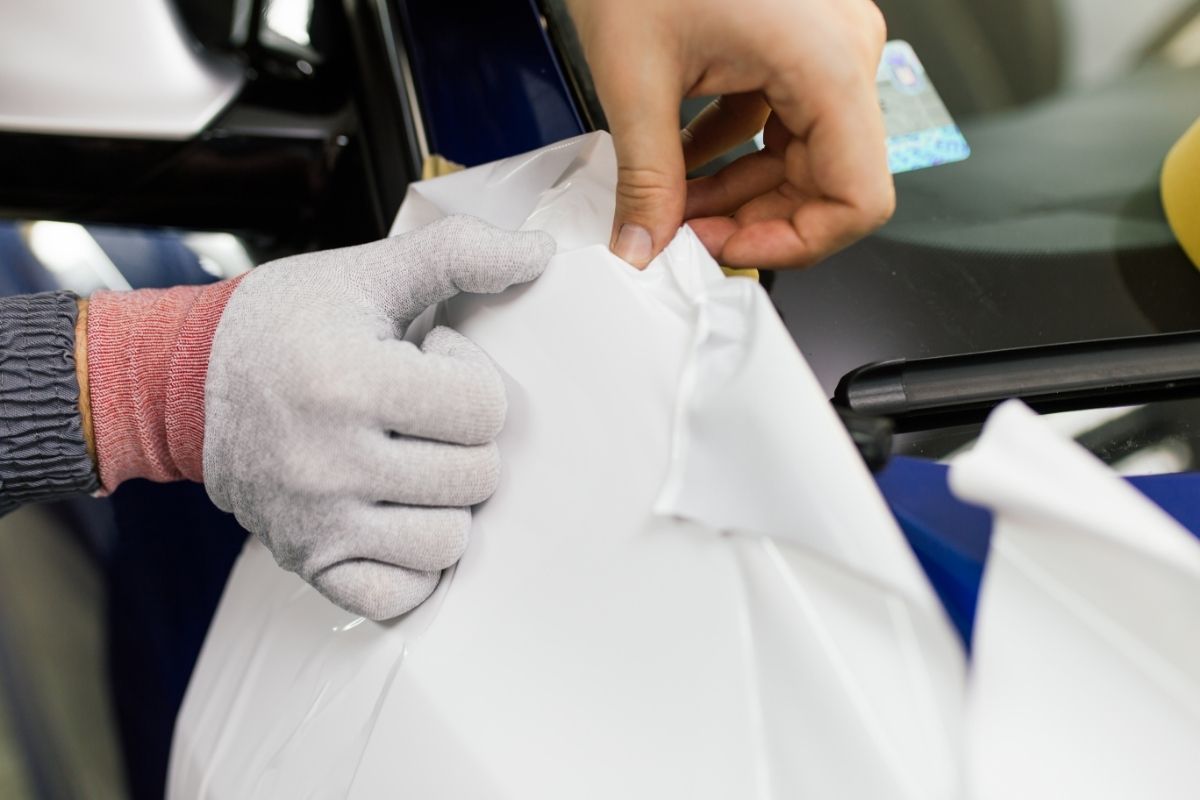
Now that you’ve got that done, hold the corner of the vinyl wrap with your fingers and slide it towards the center of the vehicle. Remember, be slow! Once the corner of the wrap is free, continue removing the rest of the wrap.
Do each section that you remove in the same way. Make sure that your fingers are firm and your hand is slow, dealing with each section without any rush.
Step 3: Removing The Adhesive Residue
Now that the vinyl itself has been taken off, you may find that there are lots of little streaks all over your car. This is the adhesive residue and needs to be removed just as carefully!
There are a variety of ways you can do this, so pick which one is best for you.
A word of warning, though, you may want to check with your vinyl manufacturer to find out which removers they recommend – and which they think are the safest to use.
Option 1
A good removing technique is to use a solution of acetone and rubbing alcohol. Acetone is a very strong liquid. Careful, though, it is highly flammable!
So have no flames nearby when using it. Why these materials though? Well, the acetone will help dissolve the adhesive while the alcohol will prevent the adhesive from bonding again.
So, apply a small amount of the mixture of acetone and alcohol to an area of the vehicle where there are no stickers. Now let it soak in for several minutes.
When that’s done, rinse and wash the area with warm water. Done? Now dry it with a towel!
Option 2
There are lots of removing solutions that you can buy, as well. One of these is Rapid Remover, which is a non-toxic remover that breaks down the adhesive and removes it – in as little time as 60 seconds!
Additionally, it doesn’t cause damage to most painted surfaces.
This is just one of many removes on the market – whichever you choose, make sure the wrap manufacturer agrees that it works on their vinyl!
Option 3
Another technique for removing the adhesive residue that’s been left over is to get a chemical citrus cleaner spray.
Put it into a spray bottle so that it can spread to a large area, then spray it on the areas with sticky bits leftover. Once that’s done, get a rag and wipe the area down.
Step 4: Clean The Car Surfaces
Now that you’ve removed the adhesive remains, you want to make sure the car is cleaned and as good as new. Wash it, especially the areas where you’ve just removed residue, with a mixture of soap and water.
Once that’s all done, wipe it down to help it to dry.
Never, ever use abrasive cleaning methods! Things like sandpaper, wire brushes, or steel wool can damage your vehicle and its paintwork.
Final Thoughts
And there you have it! If you’ve been wanting to remove the wrap that you had put on your car, you should now have a good idea of how to best go about it – with as little risk to your paintwork and car body as possible!
Remember to always be careful and slow when following these steps. If you don’t feel confident, for example when using a powerful tool like a propane torch, get a professional to help you out.
It’s always worth spending a little more money to make sure that the job gets done properly, without damage to your car.


